There’s a very specific moment when a pair of jeans quietly drops out of your life. They still fit. They’re not damaged. They’re not even unfashionable in the obvious sense. They just stop saying anything. You put them on, look in the mirror, and feel… neutral. And neutrality, when it comes to clothes, is often the beginning of the end.
That’s roughly where this story starts — with a perfectly fine pair of straight-leg jeans that had become visually silent. Not bad. Not good. Just there.
I didn’t set out to make bell bottoms because of a trend report or a Pinterest spiral. It was more mundane than that. I wanted movement. I wanted weight at the hem. I wanted that small visual drama that happens when fabric widens as it moves, when the lower half of the body suddenly participates in the gesture of walking. Flares do that. Straight legs don’t.
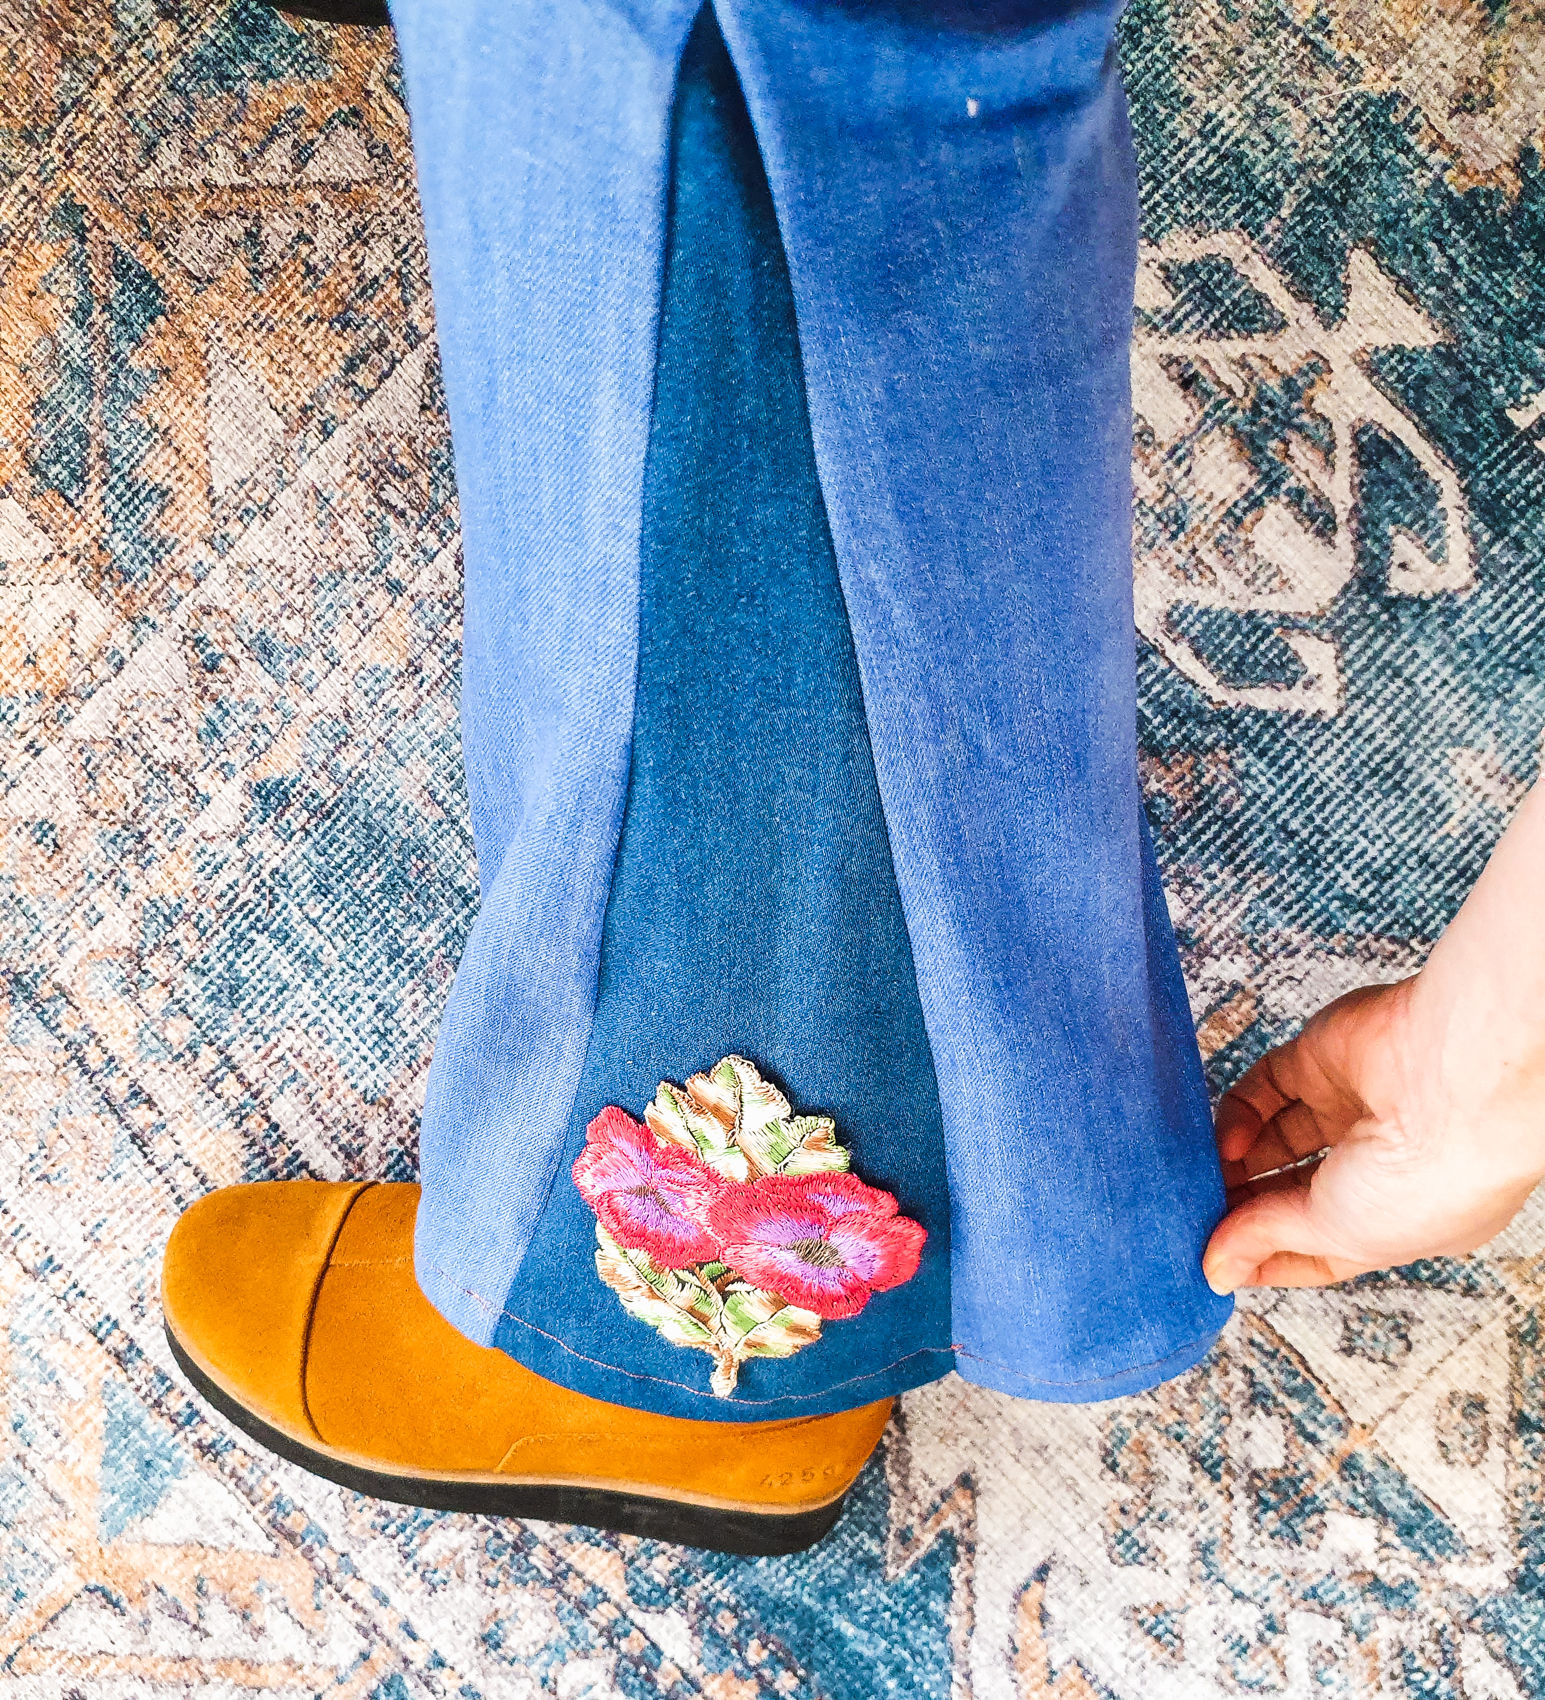
And sewing your own flares, it turns out, is one of those deceptively simple acts that carries far more cultural, aesthetic, and emotional weight than the tutorial format usually admits.
Why Flares Refuse to Disappear (Even When We Pretend They Did)
Every few years, flared jeans are declared either back or finally gone, depending on who’s writing and how desperate the headline is. But the truth is more boring and more interesting at the same time: flares never really leave. They just change their social role.
In the late 1960s and 70s, they were loud, ideological, unmistakably visible. They belonged to bodies that wanted to be seen differently — anti-uniform, anti-straight lines, anti-conformity. Later, they were softened, commercialized, dragged through the 2000s with low rises and rhinestones, and then collectively disowned.
What remains now is something quieter. A flare today isn’t a costume. It’s a proportion choice.
And proportion is where sewing becomes interesting.
Because when you alter jeans yourself — especially something as structurally visible as the leg shape — you’re not just following instructions. You’re negotiating silhouette, balance, and intention with your own hands.
The Appeal of Doing It Yourself (Even If You’re Not “A Sewing Person”)
There’s a persistent myth that DIY fashion is either about thrift desperation or crafty enthusiasm. In reality, it often sits somewhere else entirely: control.
Ready-made flared jeans come with decisions already locked in. How wide. Where the flare starts. How dramatic the sweep is. Whether it’s subtle or theatrical. When you sew the flare yourself, those decisions become adjustable.
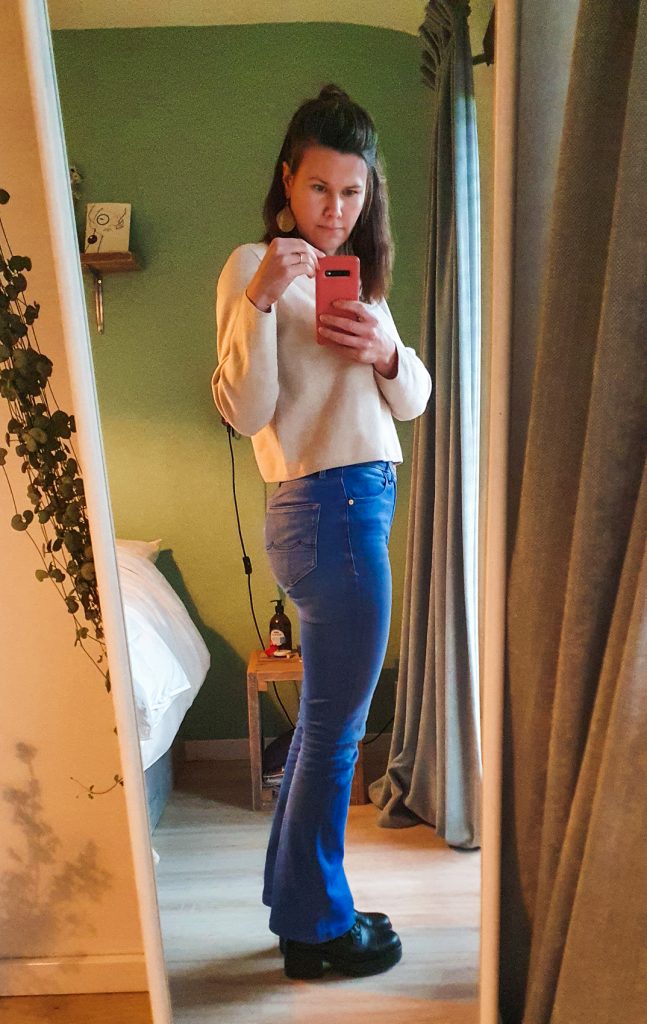
That’s both empowering and mildly terrifying.
The method itself — cutting inserts and sewing them into the outer seam of an existing pair — is straightforward enough to be beginner-accessible. But what makes the process valuable isn’t technical difficulty. It’s attentiveness.
You start noticing things you normally outsource to brands:
- how much width actually feels wearable,
- how fabric weight affects movement,
- how a few centimeters at the hem can change the entire line of the body.
These are not abstract style lessons. They’re physical.
Starting With the Jeans You Already Own
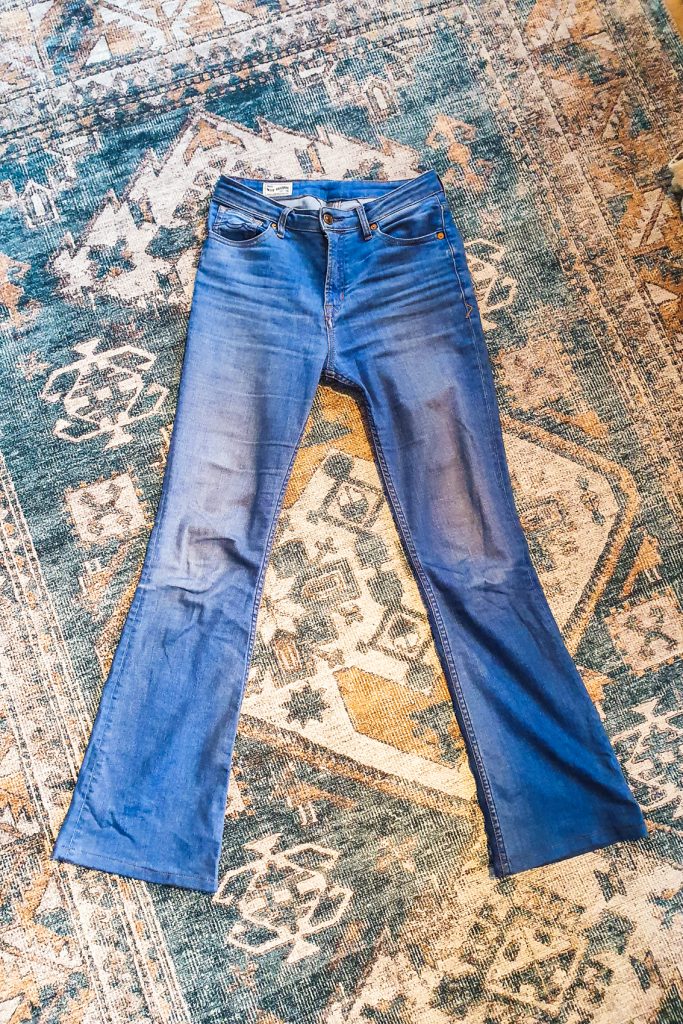
The best candidates for this kind of transformation are usually the most boring ones. Straight-leg or slightly tapered jeans with enough room through the thigh to handle an insert without distorting the fit.
Stretch denim works, but it complicates things. Non-stretch denim is more predictable. Heavier denim holds the flare shape better; lighter denim moves more fluidly but can look limp if the insert is too narrow.
I started with mid-weight, rigid denim — not vintage, not precious. That mattered. You make braver decisions when you’re not afraid of ruining something irreplaceable.
Before touching scissors, I wore the jeans around the house and paid attention to where I wanted the flare to begin. Knee? Mid-calf? Lower thigh? This isn’t just aesthetic — it affects walking, sitting, and how the jeans interact with shoes.
This step is rarely emphasized in tutorials, but it should be. Where the flare starts is the entire personality of the jeans.
Cutting Into Denim (The Psychological Hurdle)
There’s always a pause before the first cut. Denim has authority. It resists. It remembers.
The outer seam is your entry point. Cutting from the hem upward, stopping well below the knee if you’re cautious (and further if you’re bold), opens the leg like a hinge. Suddenly, the jeans look fragile. Temporary. Unfinished.
That’s normal.
This is where many first-time DIY projects fail — not because of skill, but because of hesitation. Uneven cuts happen when you stop trusting the process halfway through.
The solution is not precision. It’s commitment.
Designing the Insert (Where Style Decisions Actually Happen)
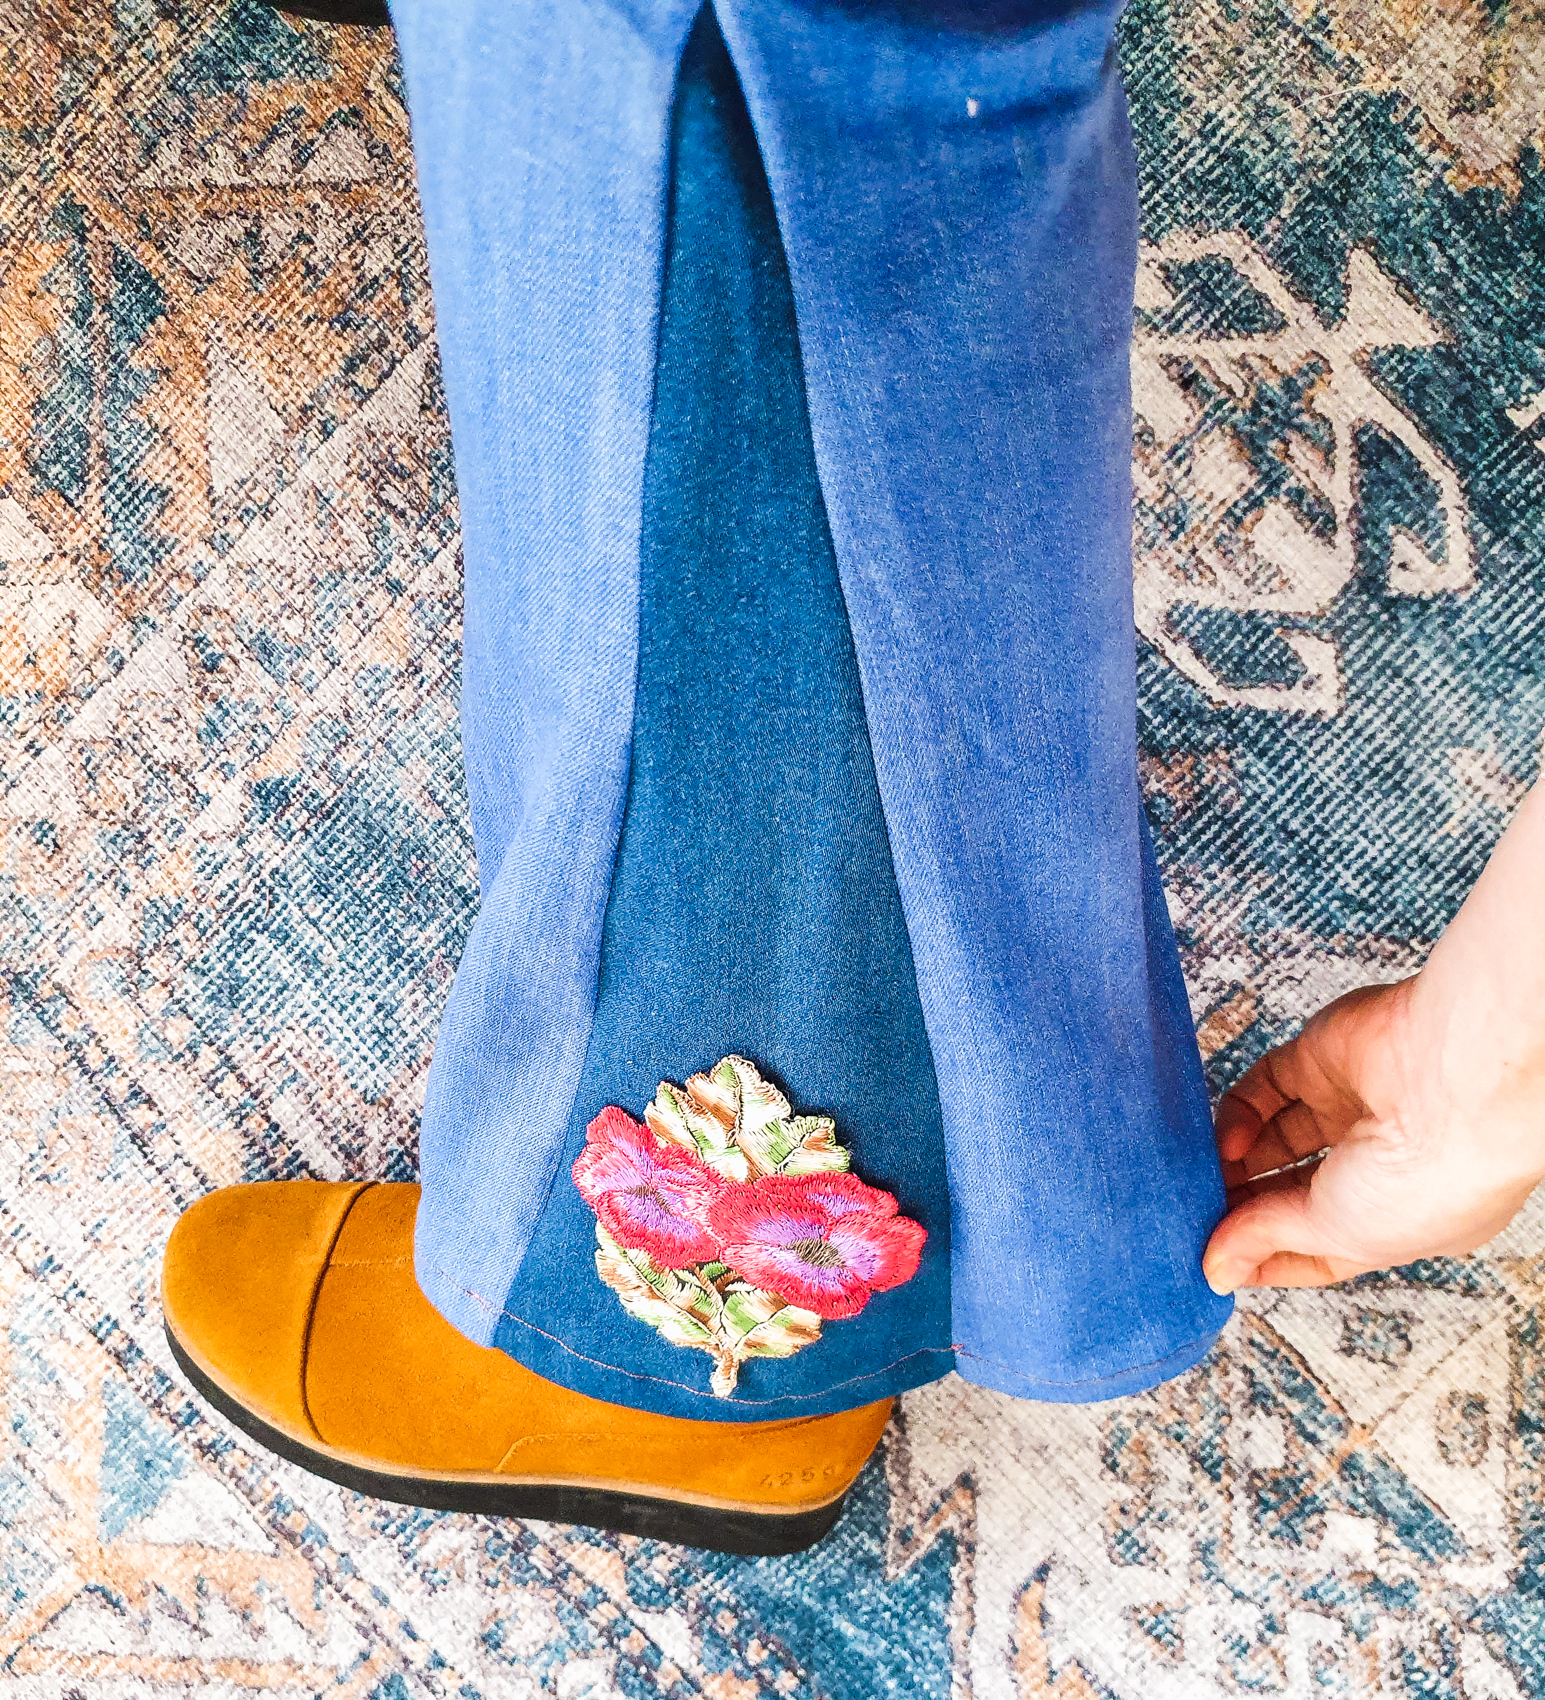
The insert is often described as a “triangle,” which is technically correct and aesthetically misleading. A perfect triangle creates a very specific, very dramatic flare — one that reads retro instantly. That might be exactly what you want. Or it might feel costume-adjacent.
Subtler flares come from shapes that widen gradually. Think elongated wedges rather than sharp triangles.
I cut my inserts from matching denim to avoid contrast. Not because contrast is bad, but because I wanted the silhouette to be the message, not the construction. Visible seams change the reading of the garment — they make it feel more like a project than a pair of jeans.
If you do want contrast, it’s worth committing fully: different color, different texture, different intention. Half-measures here just look accidental.
The Rookie Mistakes (And Why They’re Useful)
No sewing story is complete without mistakes, and honestly, they’re part of why doing this yourself matters.
I didn’t hem the inserts before sewing them in.
This is the kind of detail that tutorials mention in passing, if at all. But denim frays aggressively, and hemming after insertion is awkward at best and messy at worst. Pre-hemming gives you control. Skipping it gives you a lesson.
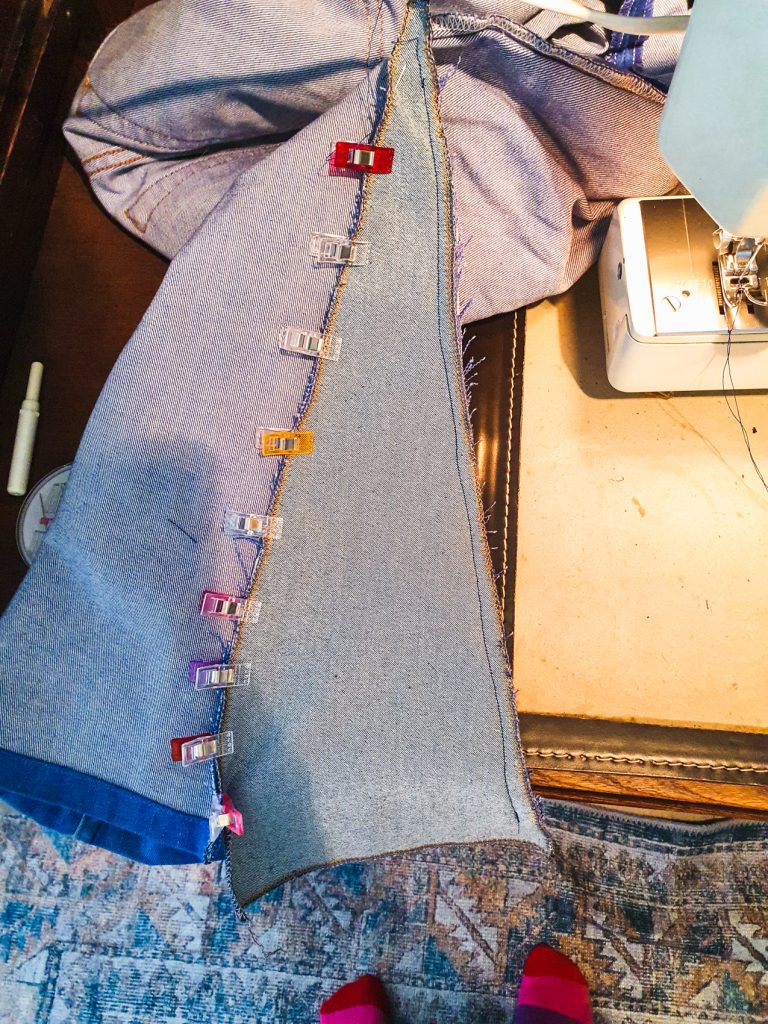
I also underestimated how much fabric I needed for the width I wanted. Err on the side of excess. You can always trim. You can’t magically widen denim once it’s stitched.
And yes, my first seam was slightly off-grain, which caused the flare to twist subtly when worn. It wasn’t catastrophic. But it was visible — to me, at least. And that awareness changes how you wear the jeans. You move differently. You notice the garment as a made thing, not a product.
That’s not a flaw. That’s intimacy.
Sewing It Together (The Unromantic Part That Still Matters)
Technically, this is where you slow down. Denim demands patience. Long stitches help. Pressing between steps helps more than you think. Topstitching is not optional if you want the insert to look intentional rather than repaired.
Matching thread color minimizes visual noise. Contrasting thread highlights construction. Again, neither is wrong — but each tells a different story.
When both legs are done, lay the jeans flat and compare them obsessively. They will never be perfectly symmetrical. That’s fine. Bodies aren’t either.
Trying Them On (The Moment of Truth)
The first try-on after finishing is always strange. You’re seeing a familiar object behave differently.
Straight-leg jeans keep the body contained. Flares release it.
The hem moves. The balance shifts. Shoes suddenly matter more. A flat sneaker reads differently. A boot anchors the shape. Even posture adjusts slightly — you stand more deliberately when your lower half has presence.
This is where the project stops being about sewing and starts being about style.
Why This Works (Beyond the DIY Satisfaction)
On the surface, turning straight jeans into flares is a practical hack. Cheaper than buying new jeans. Customizable. Sustainable, if you care about that language.
But underneath, it’s about reclaiming authorship.
Mass-produced clothing trains us to accept proportions as given. DIY interrupts that. It forces you to ask: what do I actually want this garment to do?
And once you ask that question in denim, you start asking it everywhere else.
Living With the Result
I wear these jeans differently than anything store-bought. Not more carefully — more consciously. I know where the seams are because I put them there. I know why the flare starts where it does because I chose that moment.
They’re not perfect. Which is precisely why they feel finished.
And that’s the quiet payoff of making your own bell bottoms: not a dramatic before-and-after, but a deeper relationship with something you might otherwise have dismissed as just another pair of jeans.
Sometimes that’s enough reason to pick up scissors.